Preview deployments are available on Pro and Custom plans.
Create preview deployments
Preview deployments are created automatically through pull requests or manually from your dashboard.Automatic previews
When you create a pull request, the Mintlify bot automatically adds a link to view the preview deployment in your pull request. The preview updates each time you push new commits to the branch.

Manual previews
You can manually create a preview for any branch.- Go to your dashboard.
- Select Previews.
- Select Create custom preview.
- Enter the name of the branch you want to preview.
- Select Create deployment.
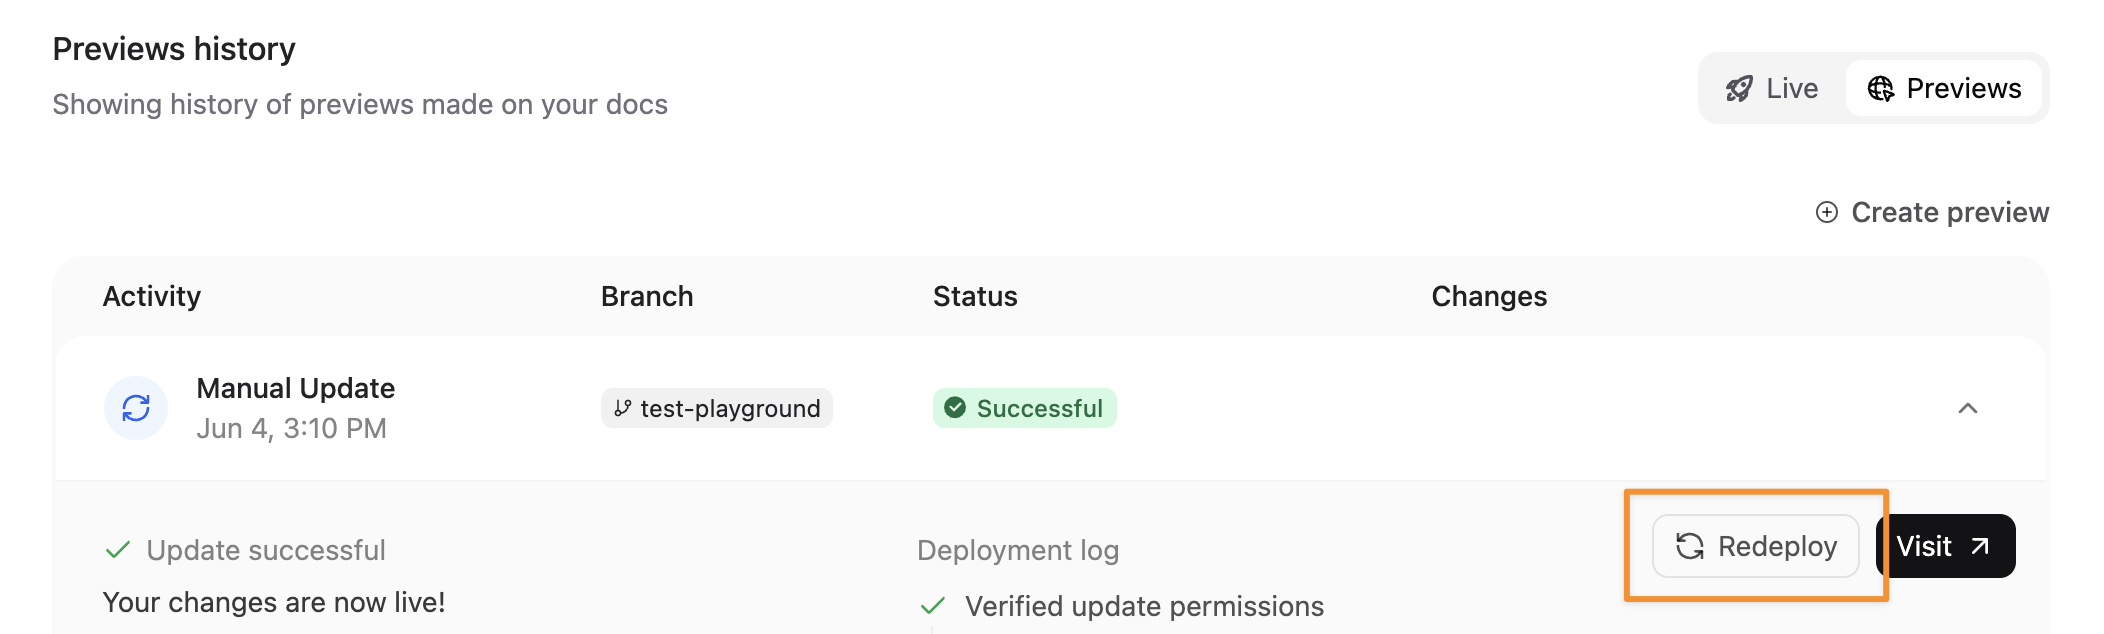
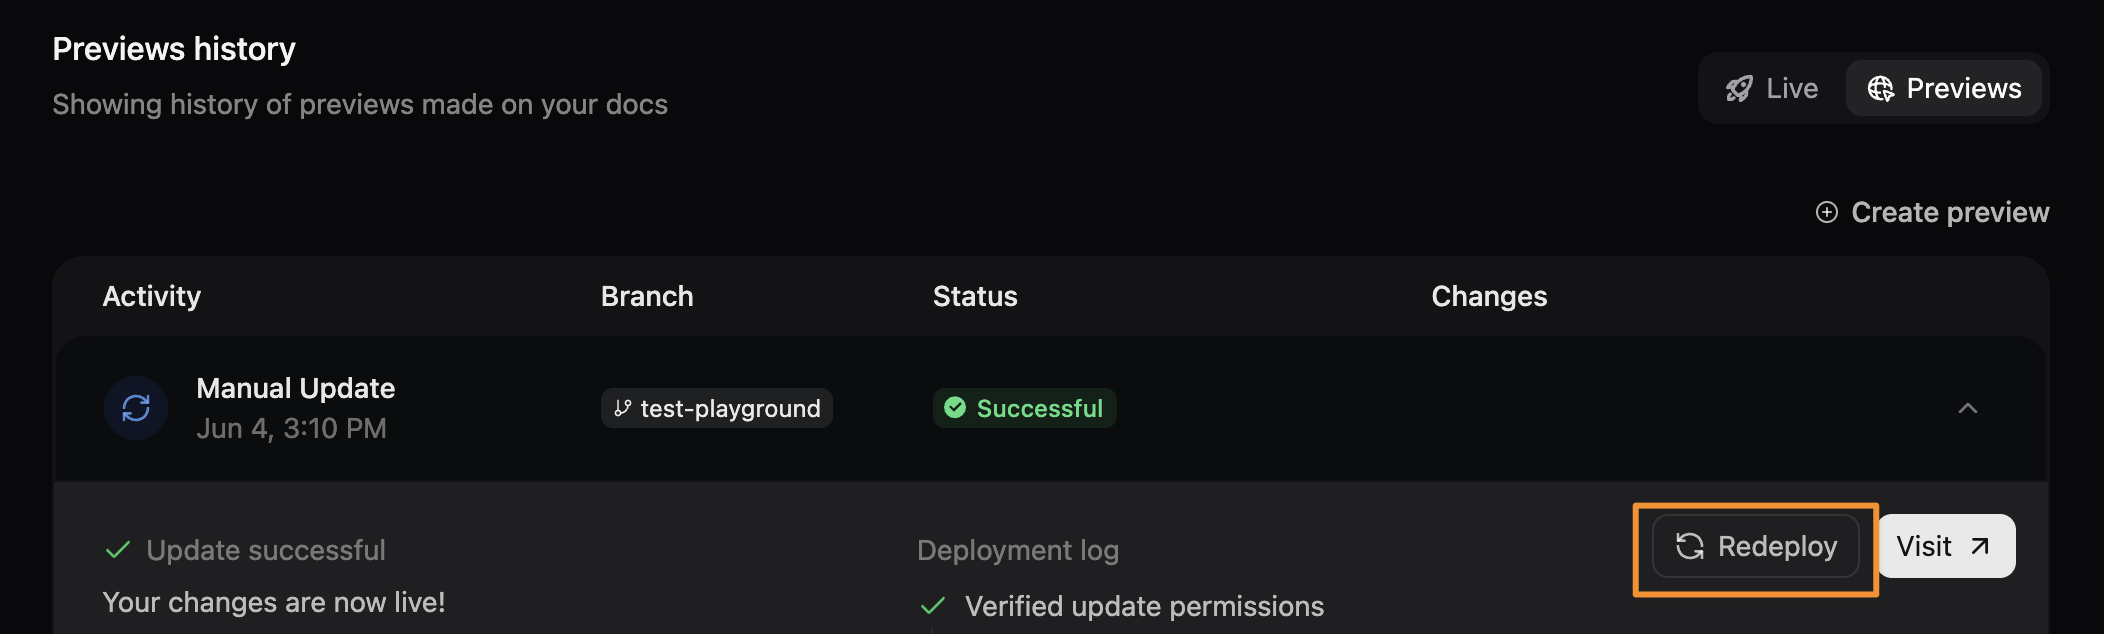
Redeploy a preview
Redeploy a preview to refresh content or retry after a failed deployment.- Select the preview from your dashboard.
- Select Redeploy.
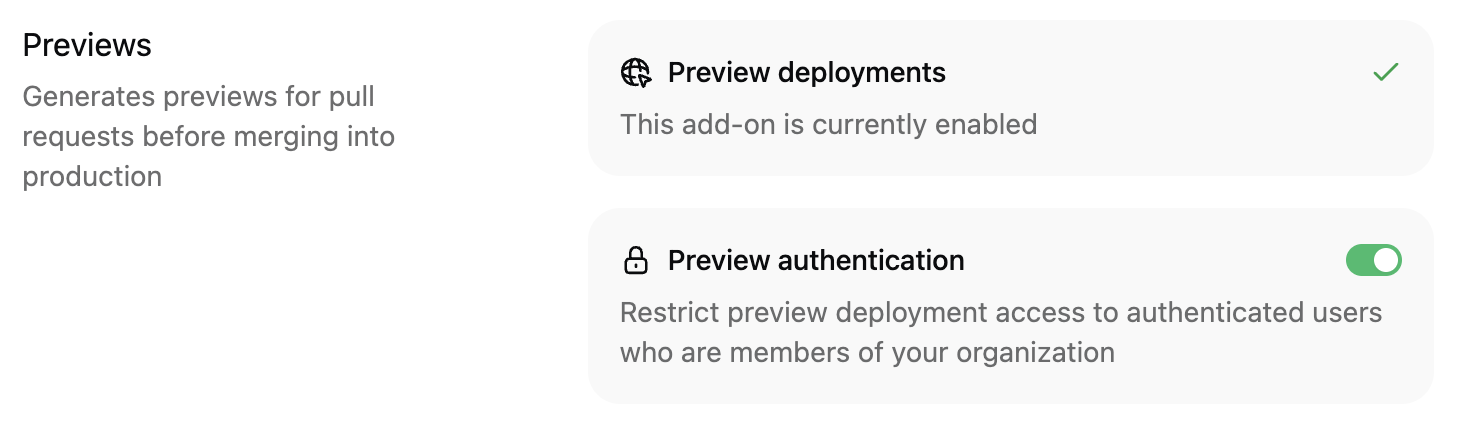
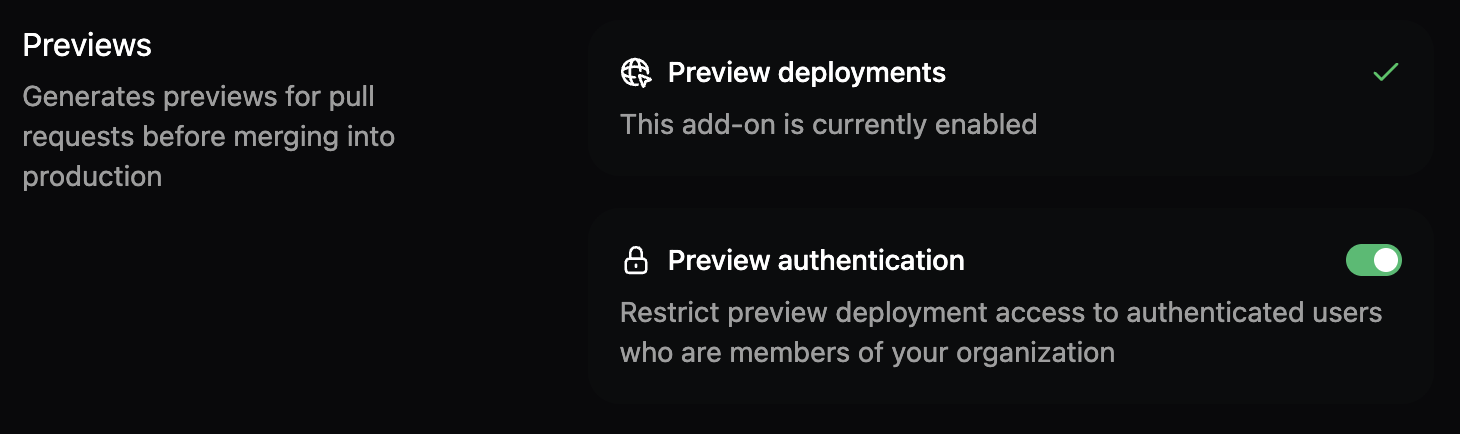
Restrict access to preview deployments
By default, preview deployments are publicly accessible to anyone with the URL. You can restrict access to authenticated members of your Mintlify organization.- Navigate to the Previews section in the Add-ons page of your dashboard.
- Click the Preview authentication toggle to enable or disable preview authentication.
Troubleshooting preview deployments
If your preview deployment fails, try these troubleshooting steps.- View the build logs: In your dashboard, go to Previews and click the failed preview. The deployment logs show errors that caused failures.
- Check your configuration:
- Invalid
docs.jsonsyntax - Missing or incorrect file paths referenced in your navigation
- Invalid frontmatter in MDX files
- Broken image links or missing image files
- Invalid
- Validate locally: Run
mint devlocally to catch build errors before pushing to the repository. - Check recent changes: Review the most recent commits in your branch to identify what changes caused the build to fail.